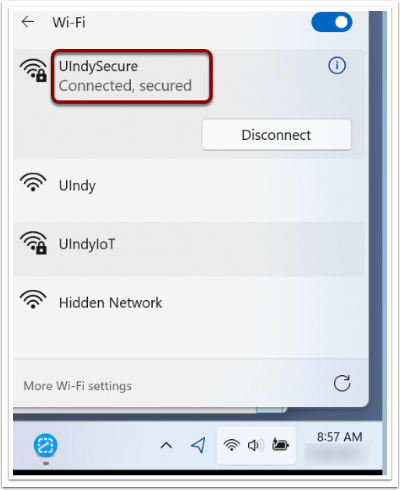
UIndy provides the following networks: UIndy, UIndySecure, and UIndyIoT. All devices must be registered in order to access the UIndy WiFi or wired network. UIndy faculty, staff, and students should connect to UIndySecure which is encrypted.
UIndyIoT is a dedicated wireless network for smart devices that typically do not support web browsers or log in (authentication) capabilities. See Manage personal devices on the UIndy network for more details.
Register your device on the UIndy network
- When on campus, select the UIndy WiFi from the WiFi options on your devices or connect to the wired network via an ethernet cable.
- On most devices, a browser window will automatically open. If it doesn't, see below.
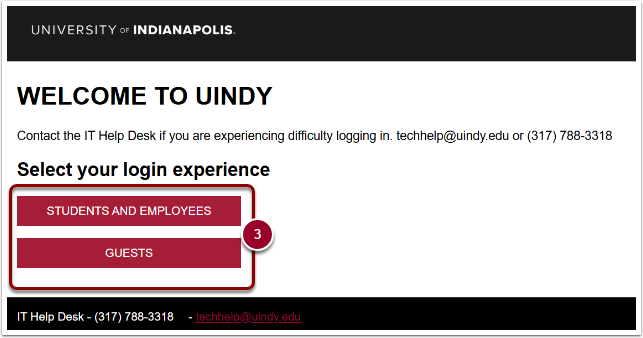
- Select your login experience. Click the Students and Employees button or the Guests button.
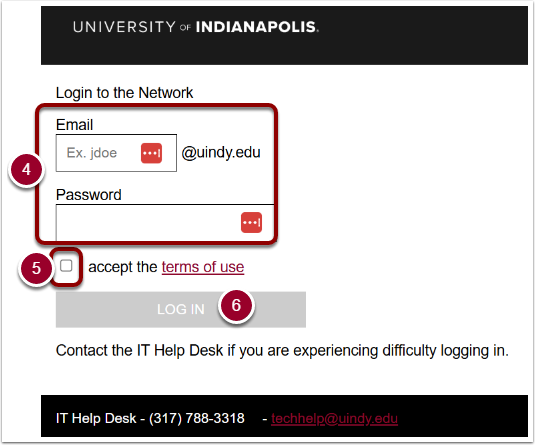
- Enter your
UIndy emailandpassword. - Check the box next to I accept the terms of use.
- Click the LOG IN button.
If a browser window doesn't appear when you try to connect
- Navigate to https://mydevices.uindy.edu/.
- Enter
your UIndy credentials. - Click the Log In button
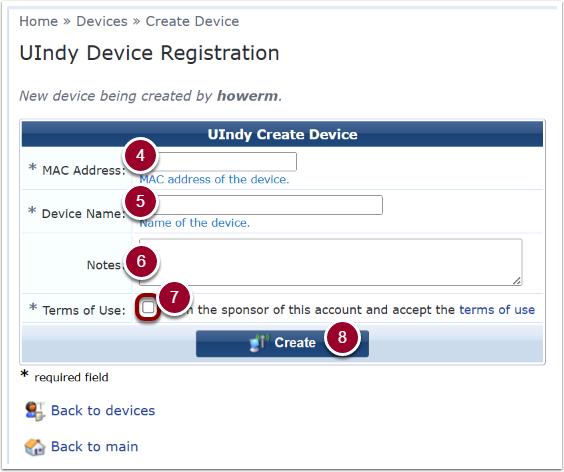
- On the Create Device tab, Enter in the
MAC addressof the device you wish to register.
- Enter the
Device Name. - Optionally, you can enter notes about this device.
- Check the box next to I am the sponsor of this account and accept the terms of use.
- Click the Create button.
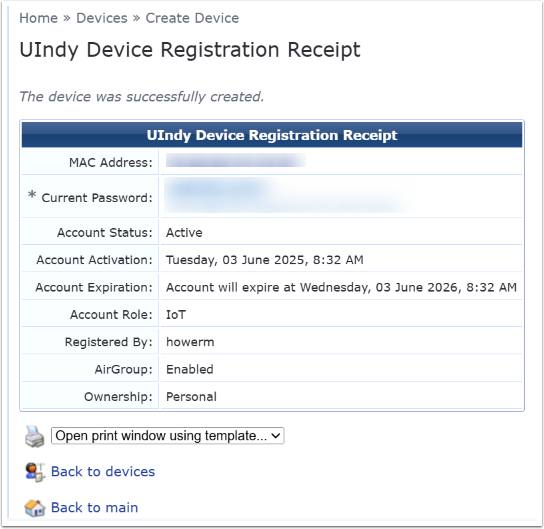
- You will see UIndy Device Registration Receipt once the device has been successfully created.
Register your device on the UIndySecure network
UIndySecure uses authentication and encryption to protect your connection. This ensures that only authorized users can access the network and that your data is secure.
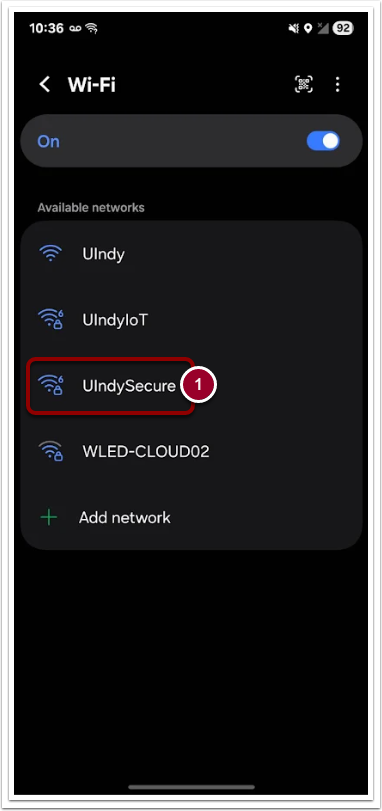
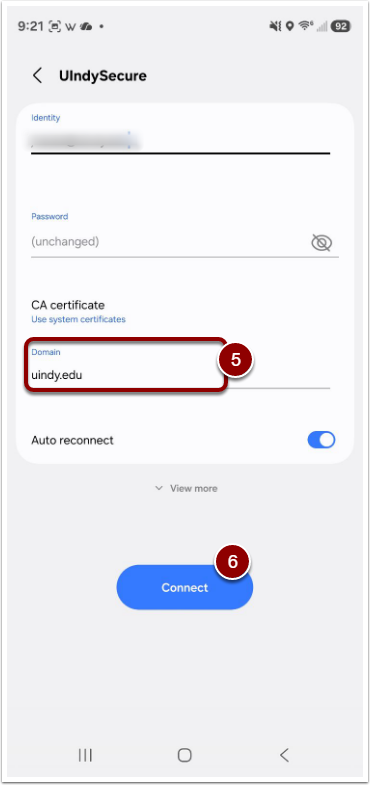
Android
- In Wi-Fi networks available select UIndySecure.
- Enter your UIndy email in the Identity field.
- Enter your UIndy password in the Password field.
- Under the CA Certificate, select Trust on first use.
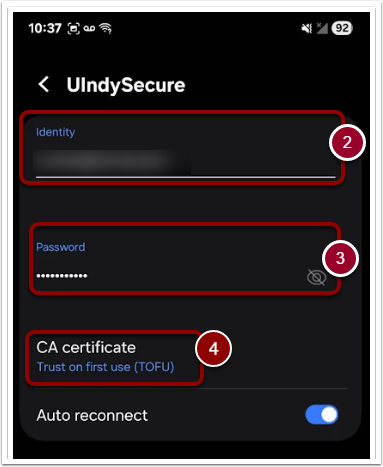
- Then connect to the
uindy.eduDomain. - Click Connect.
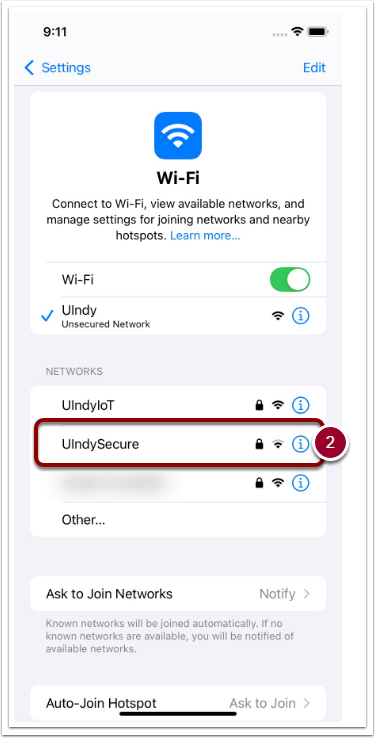
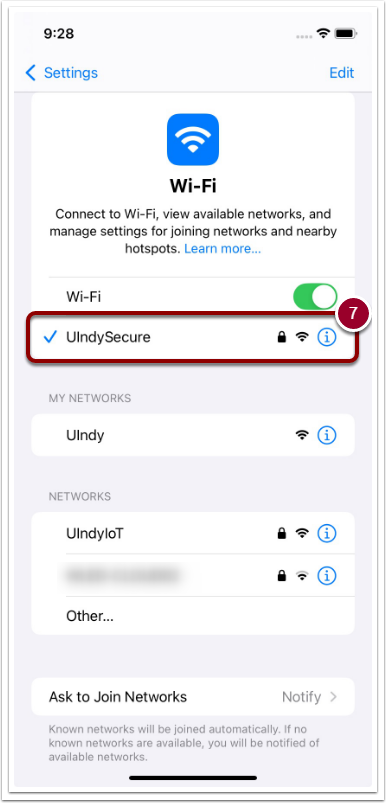
iOS Mobile
- Go to Wi-Fi settings.
- Tap UIndySecure.
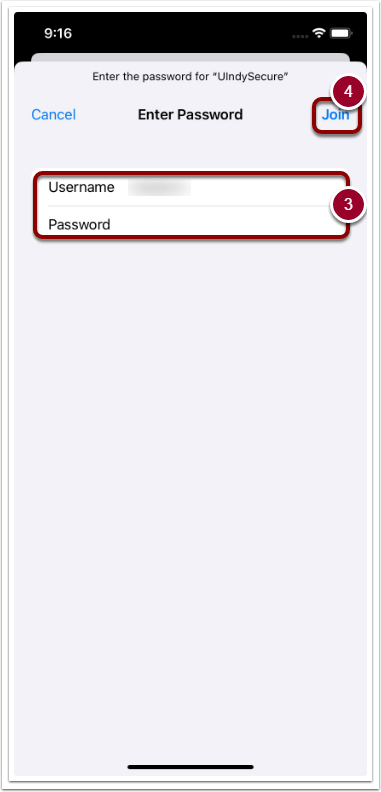
- Enter your UIndy Username and Password.
- Tap Join.
- On the Certificate screen, ensure that the first section reads, “radius.uindy.edu Issued by InCommon RSA Server CA 2.”
- Once confirmed, tapTrustin upper right corner.
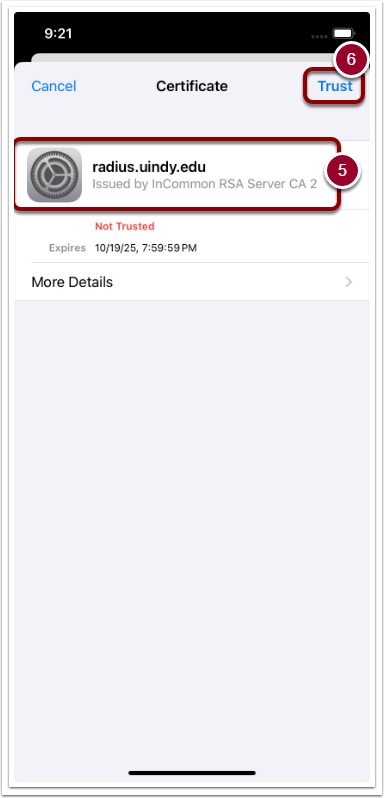
- You are now connected to UIndySecure.
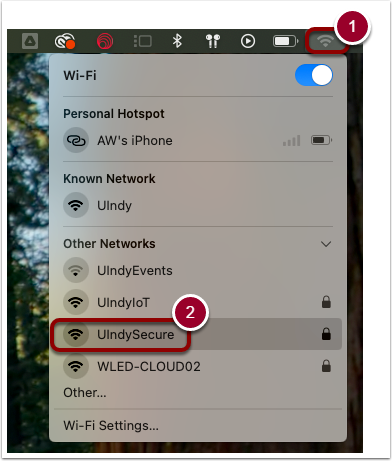
MacOS
- Click on WiFi symbol at top of screen.
- Select UIndySecure.
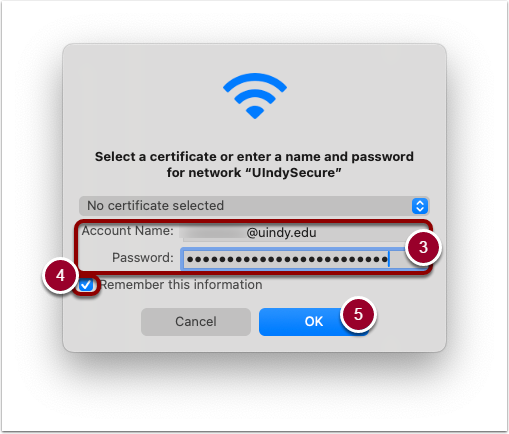
- Enter your UIndy email address and password.
- Check the box next to Remember this information.
- Clickthe OK button.
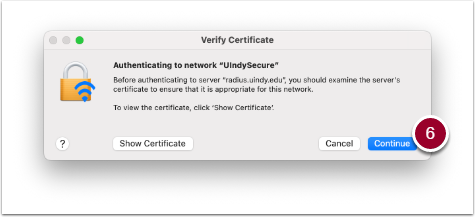
- On the Verify Certificate screen, click the Continue button.
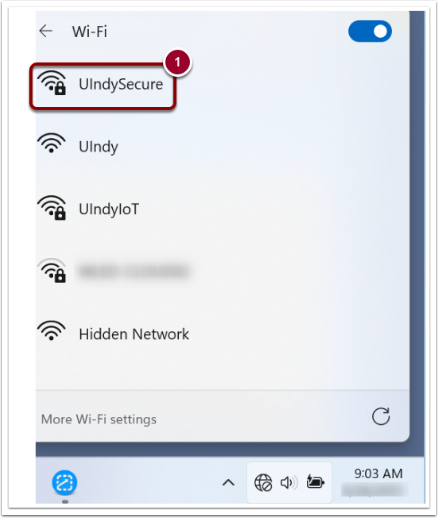
Windows
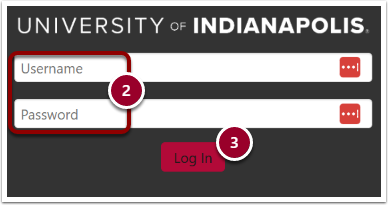
- In available WiFi networks, click on UIndySecure to connect.
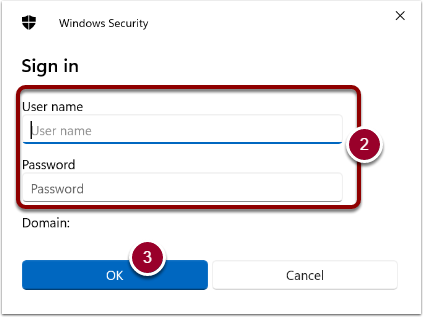
- Enter your UIndy User name and Password.
- Click the OK button.
- Click the Connect button.
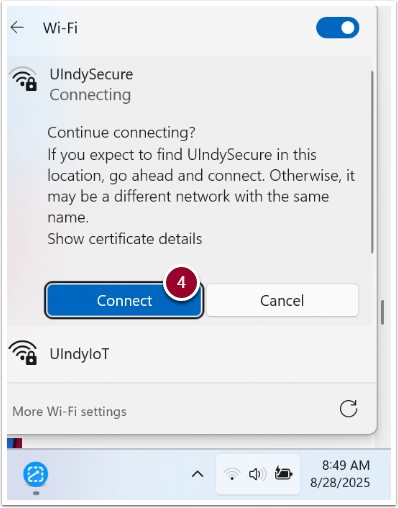
You may see the connection being established. Just wait. Your Windows device is now connected to UIndySecure.