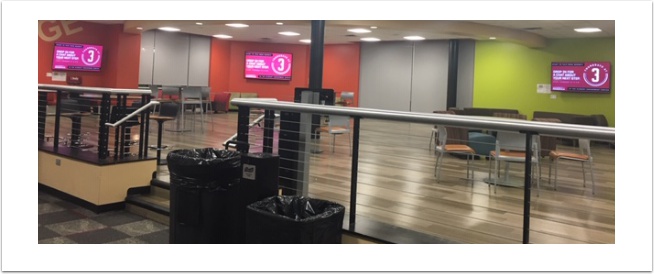
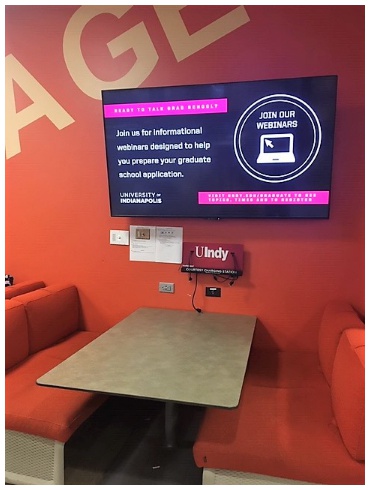
This article is designed to instruct you on how to use the three main flat panels in the Student Engagement Center located directly behind The Hub on the first floor of the Schwitzer Student Center.
Main (Center) Display: 90 inch flat panel
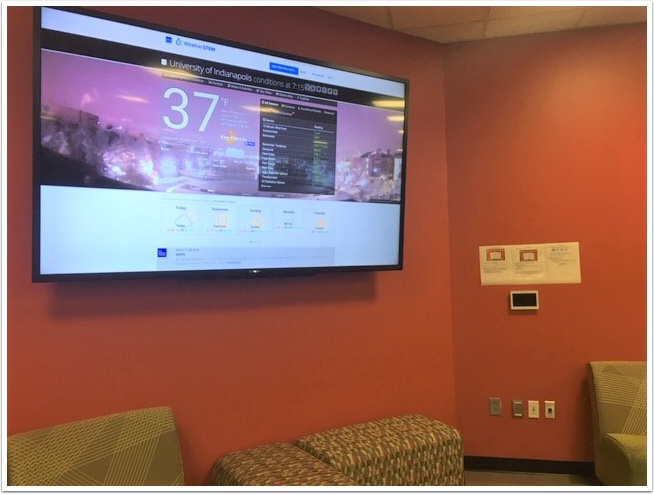
Right Display: 70 inch flat panel
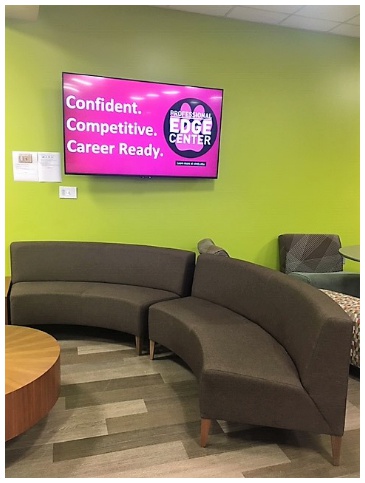
Left Display: 70 inch flat panel
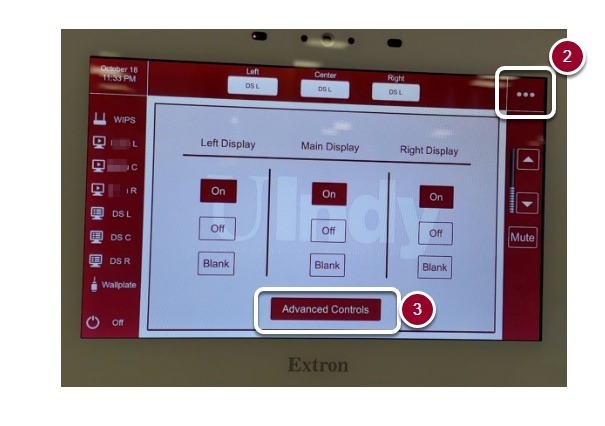
Enable Advanced Controls
Advanced Controls allows you to control each flat panel via an electronic control panel located at the 90 inch flat panel.
- As needed, tap anywhere on the 90 inch flat panel's control panel to turn it on.
- Tap the three horizontal dots located on the top right-hand corner.
- If the Advanced Controls button is red, Advanced Controls are activated and all three displays will appear on the control panel. If the Advanced Controls button is white, tap Advanced Controls it to enable them.
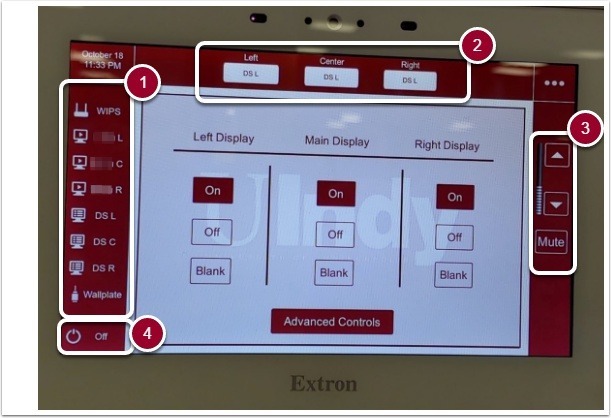
Route content with Advanced Controls
- On the left-hand side of the control panel tap the relevant option:
- L Blank
- C Blank
- R Blank
- DS L: Displays digital signage (managed by Communications & Marketing) from left 70 inch flat panel.
- DS C: Displays digital signage (managed by Communications & Marketing) from center 90 inch flat panel.
- DS R: Displays digital signage (managed by Communications & Marketing) from right 70 inch flat panel.
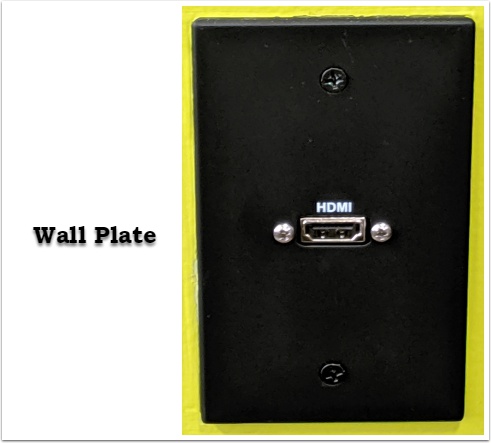
- Wallplate: Provides an HDMI connection for a gaming consoles, computers, etc.
- At the top of the control panel, tap Left, Center, or Right to route the content to the desired flat panel.
- Tap the up arrow,downarrow, or Mute buttonson the right-hand side to adjust the volume accordingly.
- Tap the power icon on the control panel to turn the control panel off.
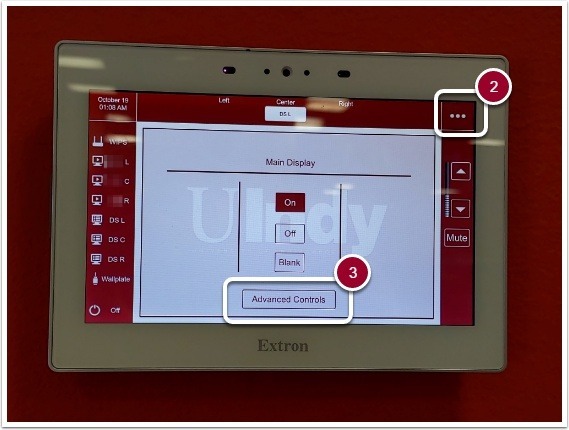
Disable Advanced Controls to display from each flat panel individually
- Tap anywhere on the 90 inch flat panel's control panel to turn it on.
- Tap the three horizontal dots located on the top right-hand corner.
- If the Advanced Controls button is red, Advanced Controls are activated and all three displays will appear. Tap the Advanced Controls button; it will turn white, and only the Main Display will appear. Advanced Controls are disabled.
Display on 70 inch flat panel
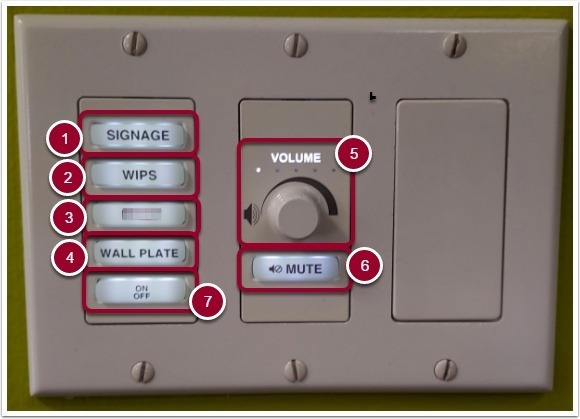
- Press the SIGNAGE button to display Professional Edge digital signage.
- Press the WIPS button to use wireless presentation (this feature is no longer available)
- Blank
- Press the WALL PLATE button to display the HDMI connection of the wall plate (laptops computers, game consoles, etc.).
- Rotate the VOLUME dial to adjust the sound output of the flat panel.
- Press the MUTE button to disable the sound output of the flat panel.
- Press the ON/OFF button to turn the flat panel on or off.
The wall plate that is used for an HDMI connection through the wall plate button of the control panel is located below the control panel close to the floor.