- Navigate to https://banner.uindy.edu/StudentRegistrationSsb/ssb/registration.
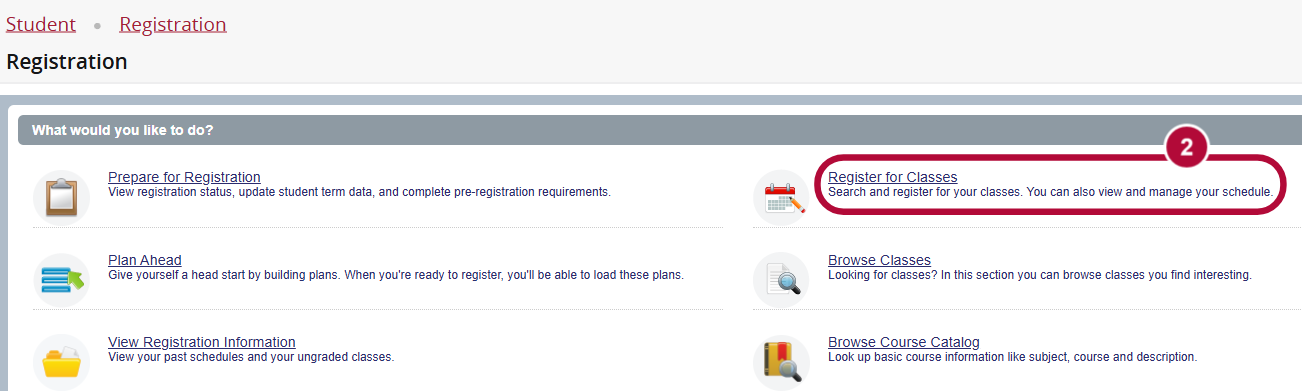
Select Register for Classes.
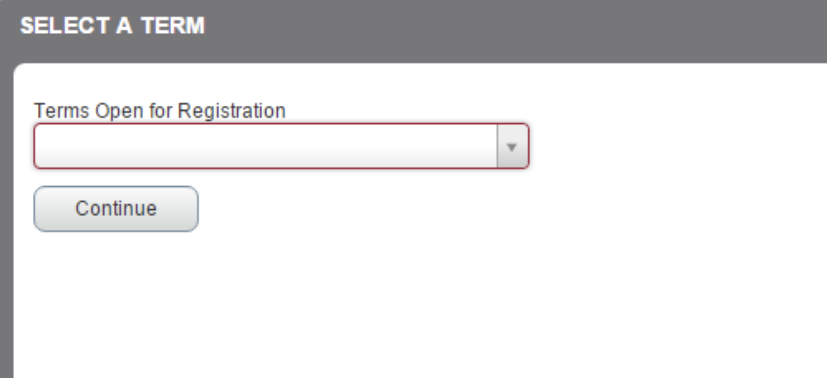
- Enter in
your desired term for registration, enter inyour Registration Code/Alternate PIN(if needed) and then click Continue.
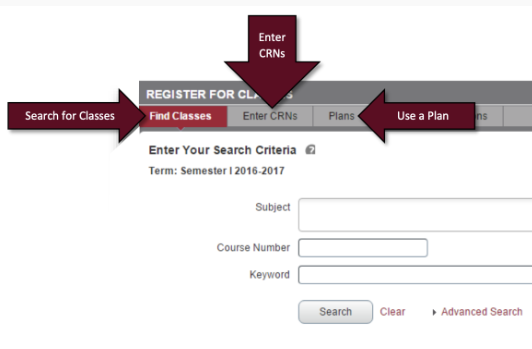
Next, find class sections using any of the following
- Search using basic or advanced options
- Enter in any CRNs you've already identified
- Make sue of a previously created plan
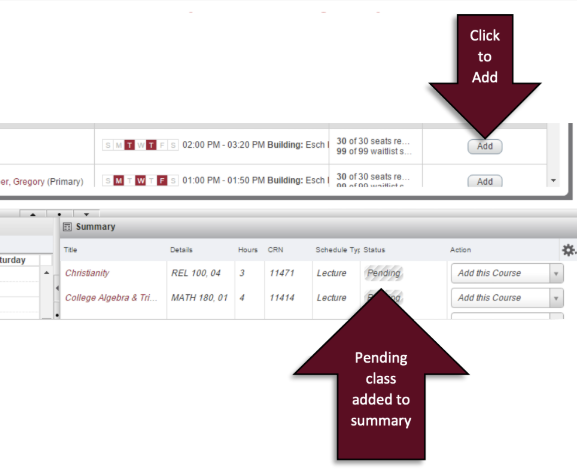
Once you’ve located a class you want to add to your registration summary click on the Add button next to the desired. Note that simply adding a class to your registration summary does NOT register you for the class. Please continue to step 7.
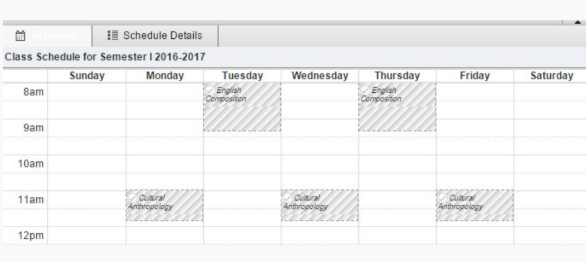
As you add classes to your registration summary, the schedule grid begins to populate your pending schedule. To finish registering, continue to step 8.
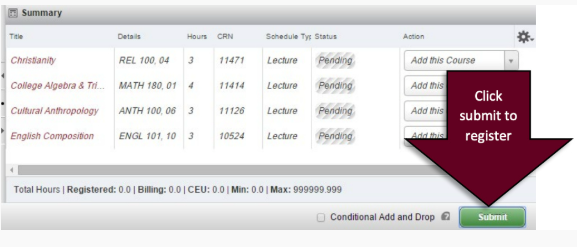
Now that you have populated your registration summary with all your desired classes, click the green Submit button to register. Learn how to adjust the credit hours taken for a variable credit class.
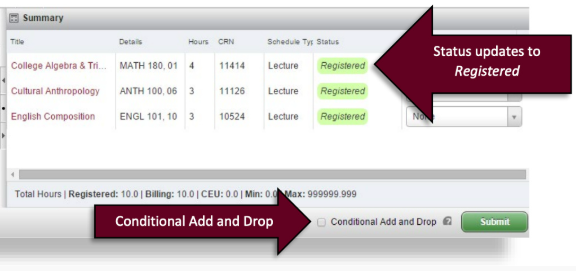
- For successfully registered classes the status next to the class in the registration summary window will change from Pending to Registered. If you have any registration errors, they will appear as a notification.
- You may drop a class by returning to the registration summary window prior to the Drop/Add deadline for the current term and switching the action dropdown box to Drop this Course and then clicking Submit.
- If you are attempting to replace a currently registered class with another, it is recommended that you check the Conditional Add and Drop box next to the Submit button. This will allow you to drop the selected class only if the additional class you are attempting to add to your schedule can successfully be registered.
- If a desired class has no available seats, you can waitlist for the class by first changing the action dropdown box to Waitlist This Course and then hitting the Submit button again. For more information on Waitlists please review the Waitlisting FAQs.
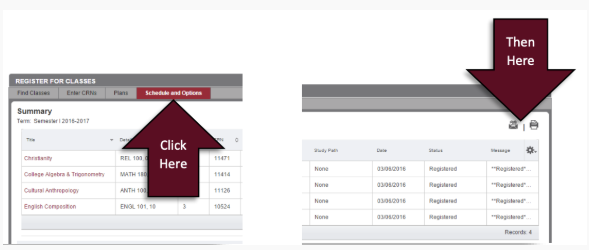
Congratulations on registering for your classes. To print or email your schedule click on the Schedule and Options tab and then click on either the Printer icon and/or the Email icon.