UIndy employees (both faculty and staff) can submit events to calendars to promote them within My UIndy.
Three items required for each event
- Event title
- Event date and time
- Calendar (most employees will only have Campus Events calendar available in the dropdown)
Helpful information to gather before you begin
While only the three items listed above are required, the following optional information can help entice people to your event and is helpful to know before you post your event.
- Image: Image representing your event (images without text are best; do not include images with QR codes)
- Event description: Use this information to provide information that will entice your intended audience to attend the event
- Event location: All campus room reservations must be made through the University Events room reservation system before an event location is published.
- Audience: Is your event open to the public or just UIndy students, faculty, and staff?
- Tickets: If attendees must purchase tickets, gather the ticket-purchasing page URL/web address.
- RSVP: Do you want guests be able to indicate if they plan to attend?
- If so, you will need to choose whether the list of attendees will be shown in the calendar event or only visible to the event hosts/managers
- Check-in: Do you want guests to check-in with their mobile device when they arrive?
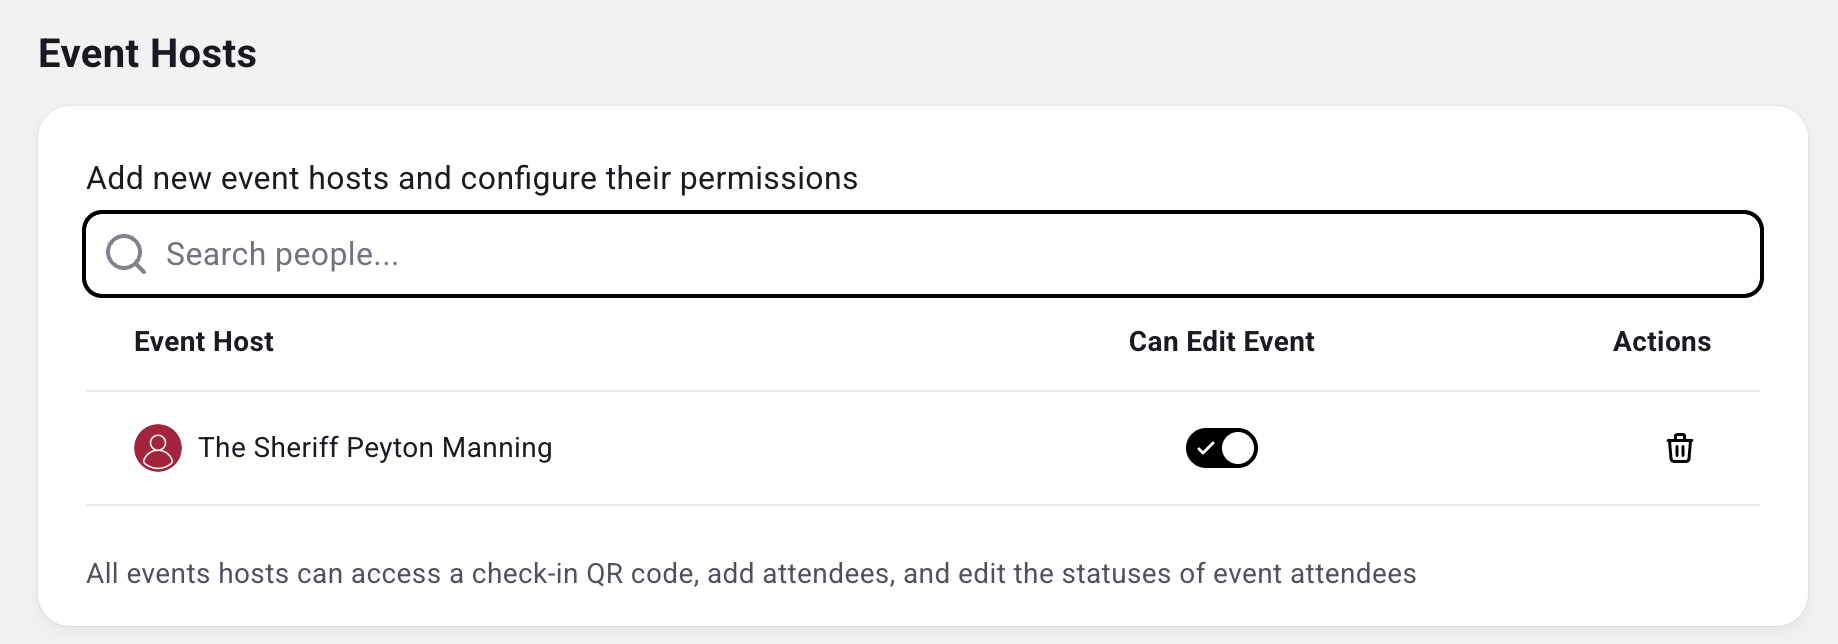
- Event hosts/managers: Are there any other users who need access to the check-in QR code, add attendees, change the status of event attendees, and edit other event details? They can be added later if you do not know now.
Create your event
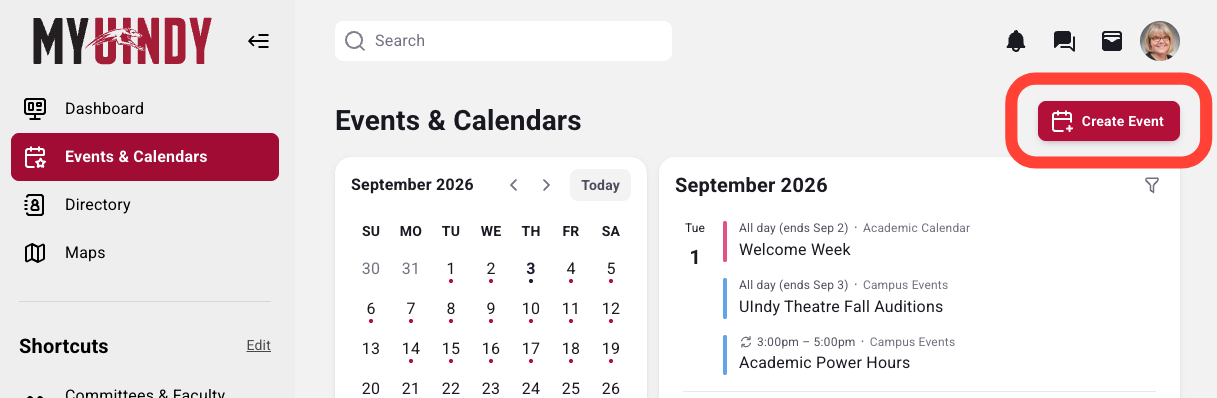
- Navigate to My UIndy and select Events & Calendars.
Select Create Event in the top right corner. You may need to scroll up to see the button.
- Enter the event title, date and time, and select the appropriate calendar from the drop-down menu.
Note: If you want to track attendance with a QR code, see the Tracking Attendance section below for details. - Click or press the Create Event button.
Optional event selections
| Event Option | Details |
|---|---|
| Schedule to publish later | If toggled on, you can select a future date and time on which your event should be added to the My UIndy calendar.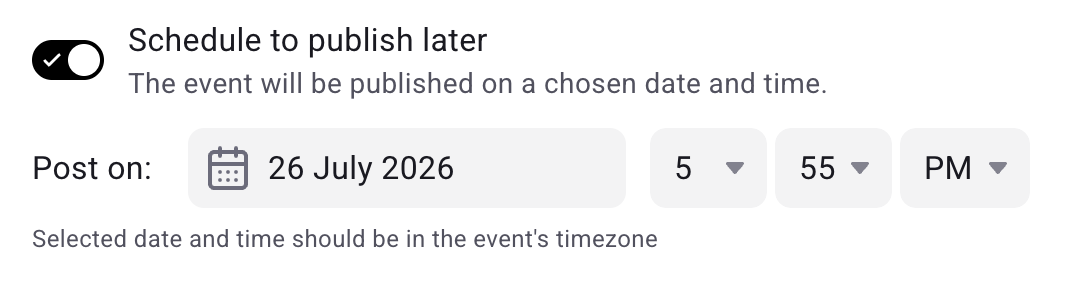 |
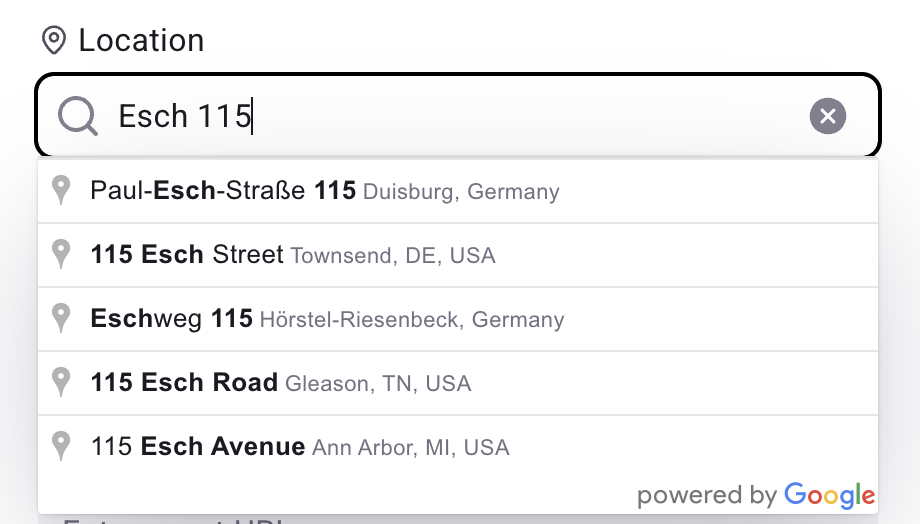
| Location | You may enter a campus room (SCHW 212) or an off campus location. All room reservations must be made through the University Events room reservation system before an event location is published. By default, locations stored in Google Maps will auto suggest addresses as you type. Most rooms on campus will not match. If a matching location doesn't populate as you type, you can click outside the location bar to close the auto suggest menu. |
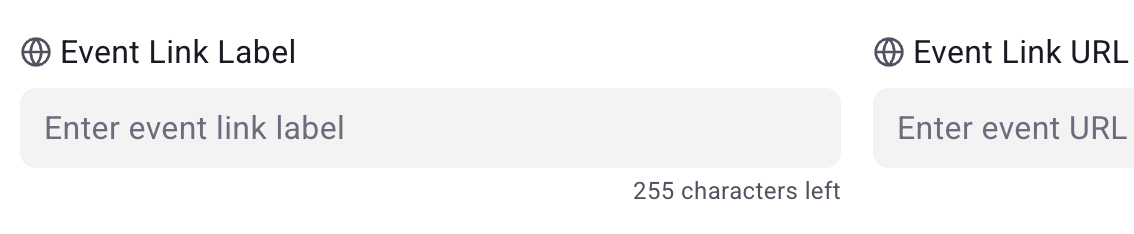
| Event Link | If you have a website or page with more details you can include text to describe the site in the Event Link Label and the URL in Event Link URL.
|
| Maximum Attendees | Limits the number of people who can RSVP "going" to the event. It does not limit the number of people who can check in to an event. This option only applies if you also select the "Allow selecting Going/Not Going status" option in the Track Attendance section. |
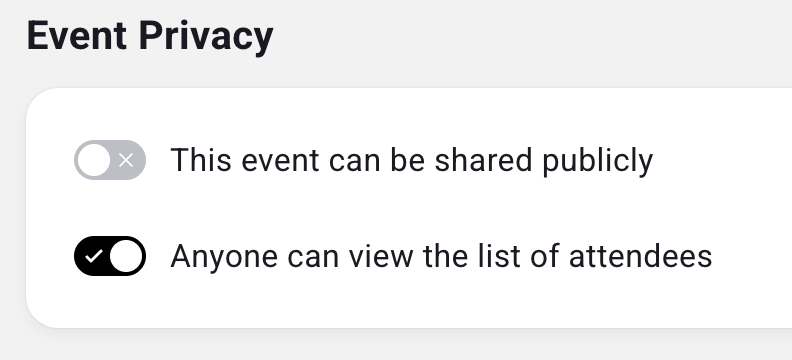
| Event Privacy | This event can be shared publicly When this option is toggled on, a shareable web link that you can post publicly outside My UIndy will be generated after saving the event. Public links only let external viewers read event details. They will not be able to RSVP, check-in, or otherwise interact with the event. Anyone can view the list of attendees When toggled on, allows all event viewers to see a list of individuals who have indicated they are Going or Not Going to the event. When toggled off, event hosts and admins can still see the full guest list behind the scenes, but individual attendees won't see who else is attending. |
| Event Tickets | If attendees must purchase or reserve tickets with a third-party website, toggle this switch on and enter the event's ticketing site URL/web address.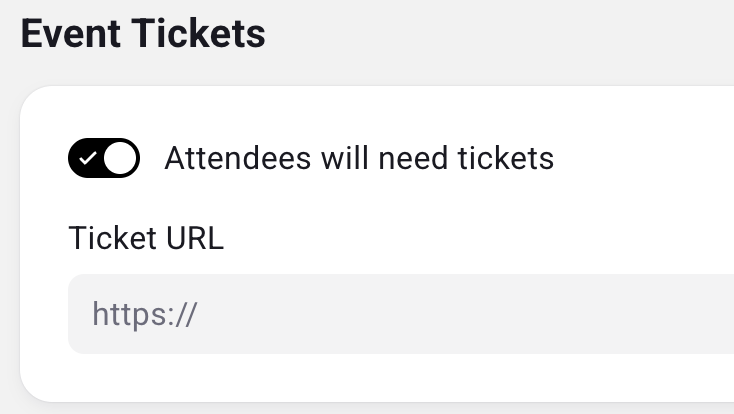 |
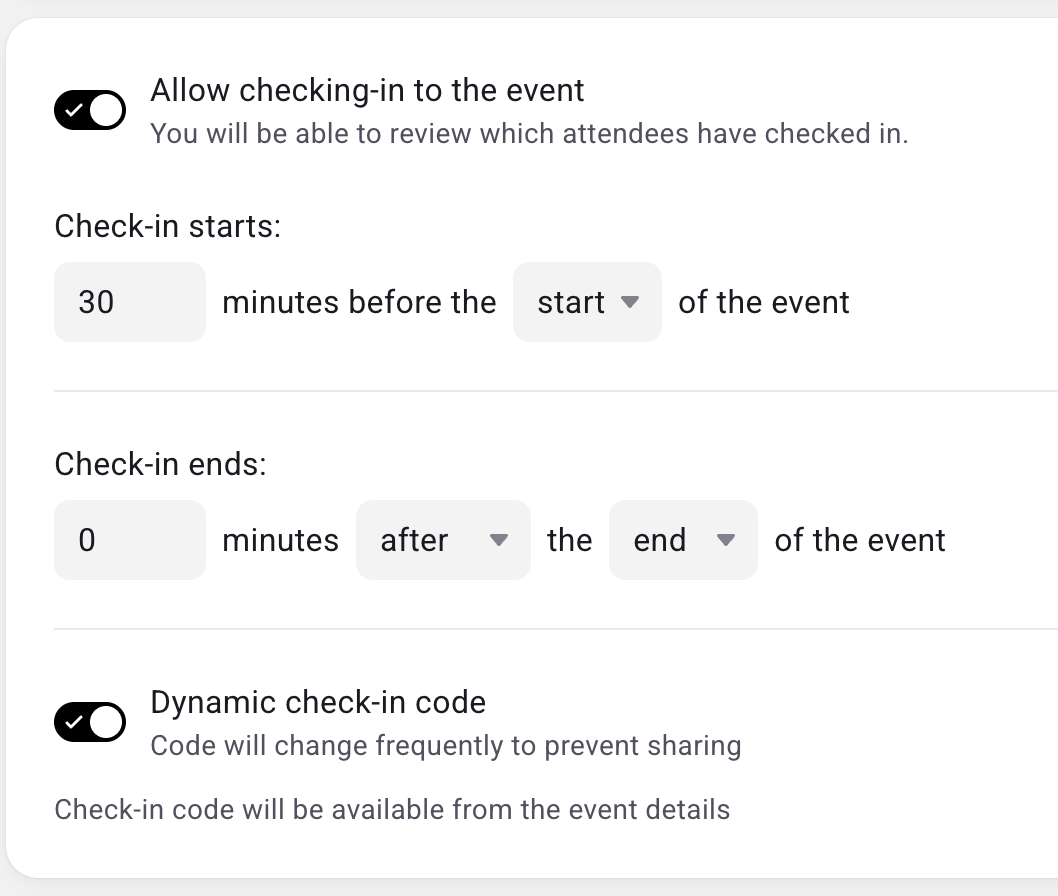
| Track Attendance | Checking in Use the options in this section to track attendance at your event. Selecting the Dynamic check-in code will change the QR code frequently (approximately every 20 seconds) to minimize risk that the QR code will be shared with non-attendees. Note the dynamic check-in code will require you to show the event QR code digitally instead of printed on a poster or handout at the event. Checking out To require attendees to check-out at the end of an event as well, toggle the Allow checking-out of the event switch on. |
| Event Hosts | You can grant hosting rights, with or without edit access, allowing co-hosts to present check-in/check-out QR codes, log walk-in attendees manually, and manage attendance updates. Enter a My UIndy account holder by name or email address. When you intend to track attendance and the event is posted on the Campus Events calendar, you must add yourself as an event host in order to see the QR code after saving the event. |