Adobe Sign is an e-signature solution that allows you to collect signatures from multiple signatories. To use Adobe Sign to collect signatures, you will need to request a license by submitting a UIndy Works request.
Only those that are preparing the documents to be signed require the Adobe Sign license. Anyone (including those outside of UIndy) can sign without the Adobe Sign license.
Adobe Sign highlights
- Once you set up the document for signatures, you don't have to touch it again until you receive the final signed copy
- Documents can be set up to send automated email reminders to whoever still needs to sign it
- You can send the same document to a list of signatories all at the same time
- Copies of signed documents can be set up to deliver automatically to those who need a copy (CC:)
Accepting an Adobe Sign license
In order to be added to the Adobe Sign license, there are a few steps that need to be completed.
Step 1: Upon request, you are added to the Adobe Sign license
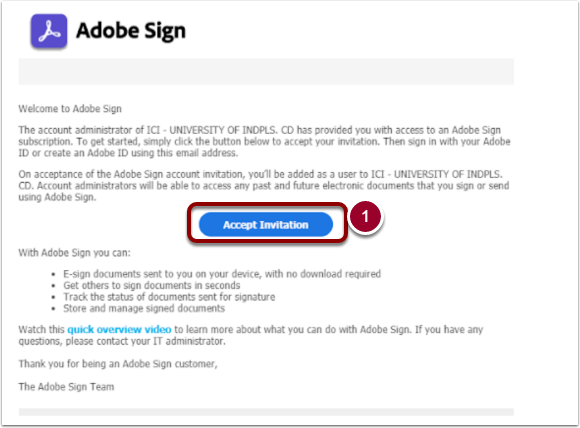
Step 2: Accept invitation/conversion email. You will receive an email from Adobe Sign ([email protected]) after you are added to the license. This email will be in one of two formats. Either an invitation email or a conversion email.
If you receive an invitation email:
This email will specifically have a blue button in the message that says “Accept Invitation”.
- Click on the Accept Invitation button in this email.
- Follow the instructions you receive.
- You will be asked to log in, enter
your UIndy email addressand choose School Account if prompted. - Once you have logged in, you will be sent to Adobe Sign on the web. At this point you can close this browser window or tab and go back to using Acrobat on your computer.
If you receive a conversion email:
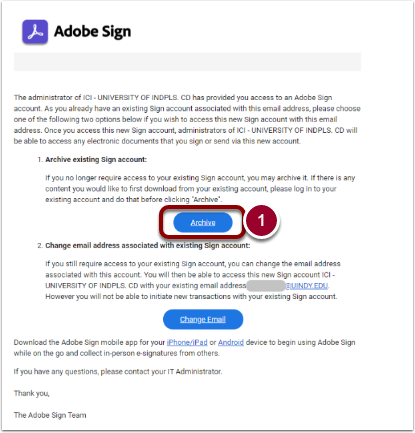
This email has two blue buttons in the message, one says “Archive” the other says “Change Email”. IT recommends choosing the Archive option. However, you will want to make sure that you have downloaded any completed items of which you want to retain a copy. Additionally, if you have any pending items, please do not choose Archive until those items are completed and downloaded. Once you choose Archive, you will lose access to any items that are currently in your Adobe Sign account.
- Click the Archive button in the email.
- Follow the instructions you receive.
- You will be asked to log in, enter
your UIndy email addressand choose School Account if prompted. - You will be asked to confirm the choice of Archive; click on Confirm.
- Once you have logged in, you will be sent to Adobe Sign on the web. At this point you can close this browser window or tab and go back to using Acrobat on your computer.
- Double check that you are logged into Acrobat by looking at the upper right hand corner of the screen. There will be a blue circle that will display your UIndy email address when you click on it.
Step 3: Verify Adobe Sign works
Adobe Sign Groups
Adobe Sign offers groups which is ideal for departments. Members of the group also have access to the group's Library Templates (forms used frequently by the department), as well as Message Templates. To be added to a group, contact the IT Help Desk.
Some settings within groups can be changed my group members. To make changes:
- Click on the Group tab in your Adobe Sign account.

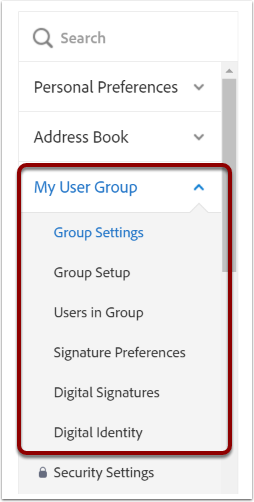
- Click on My User Group on the left side of the page, you'll see a list of setting categories that you can review and customize to fit your group's needs.
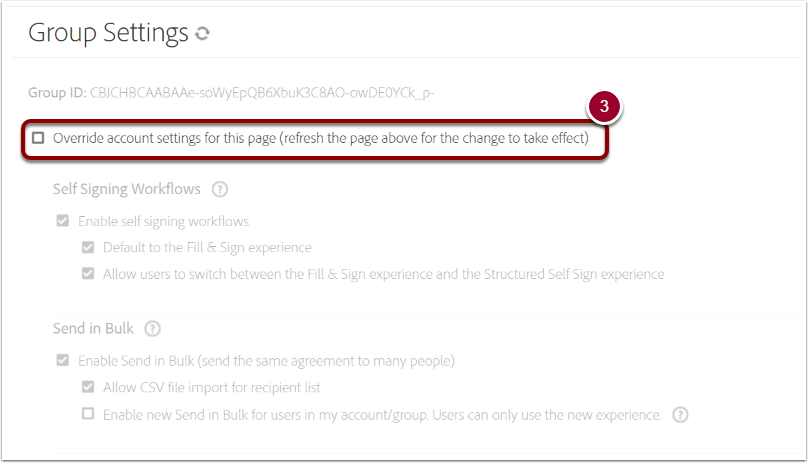
- If you want to change any of the settings, click the box next to Override account settings for this page, and then you can make changes.
There are a few categories that are locked to ensure digital security.